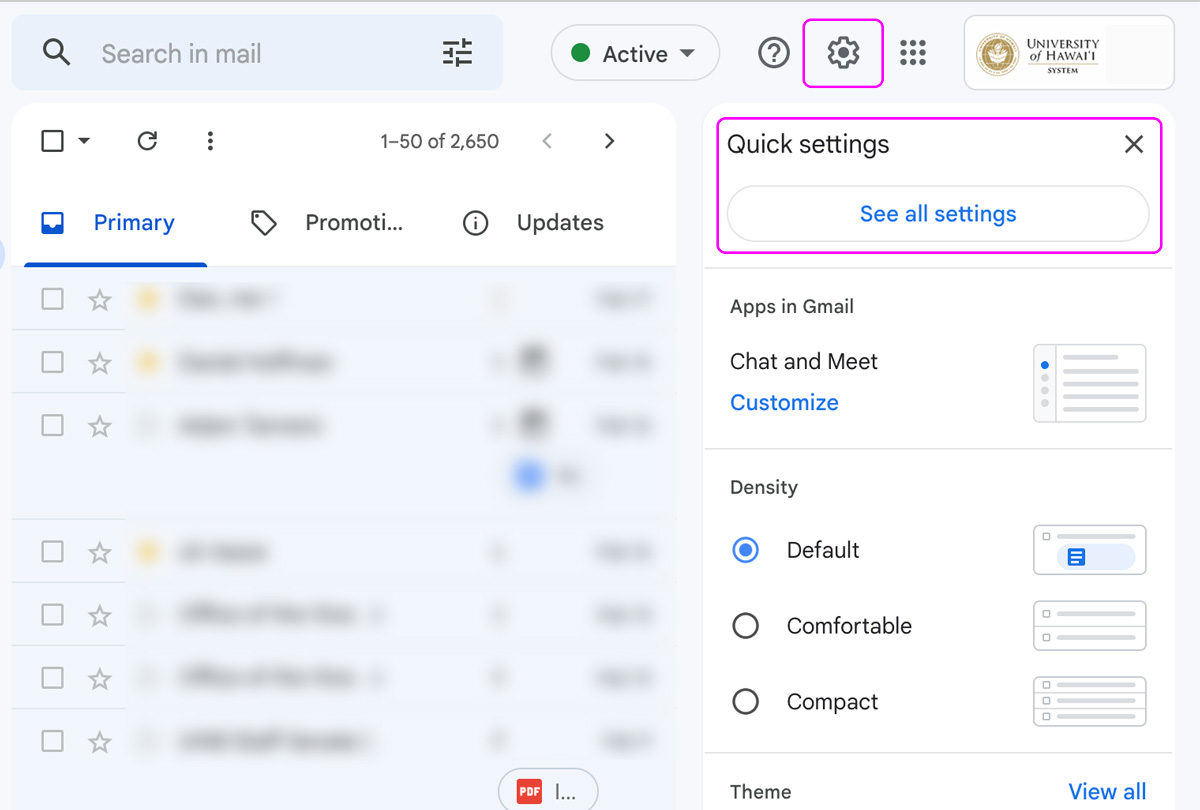
Navigate to your settings.
Click on the cog icon in the top right of the screen and select “See all settings”.
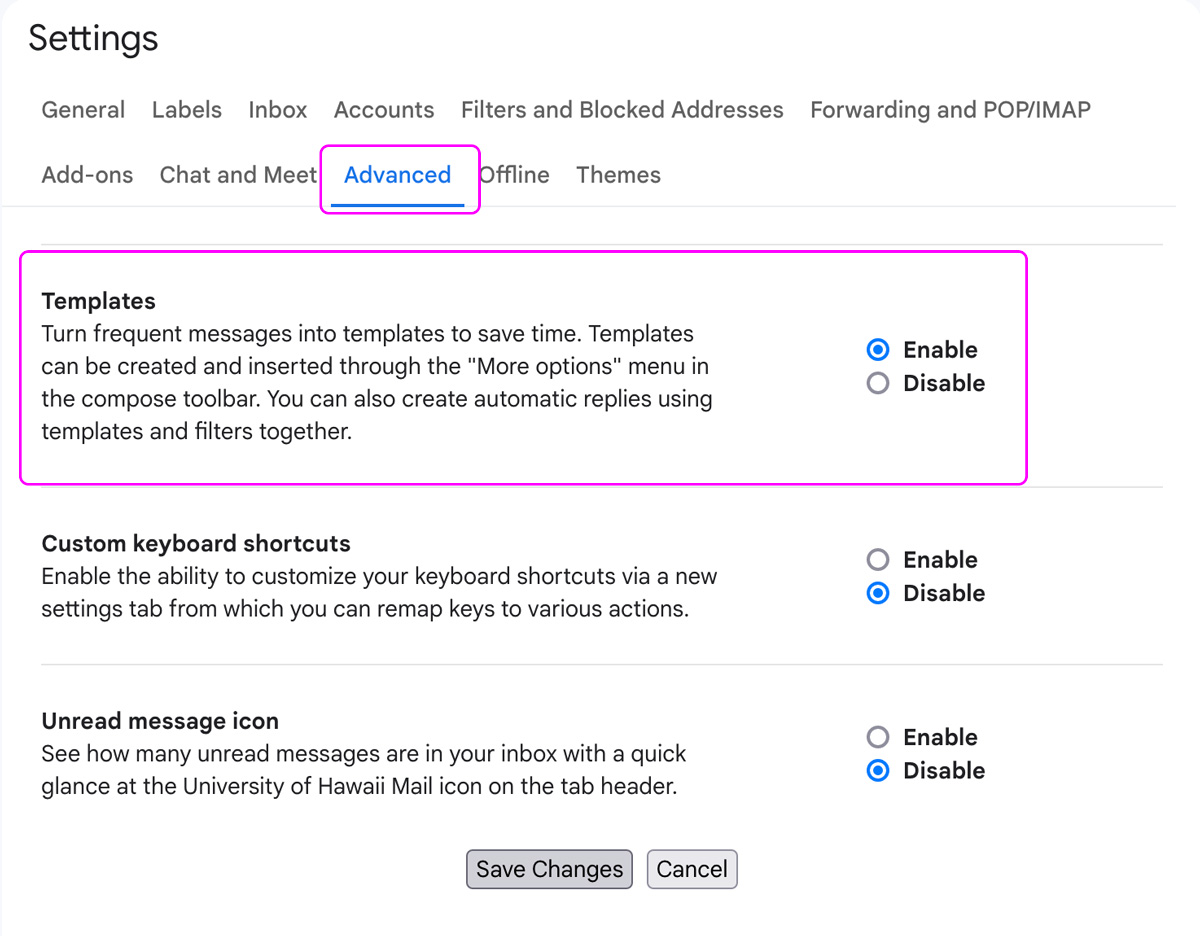
Enable templates
Go to the “Advanced” tab, find “Templates” and select “Enable”. Save changes at the bottom of the screen.
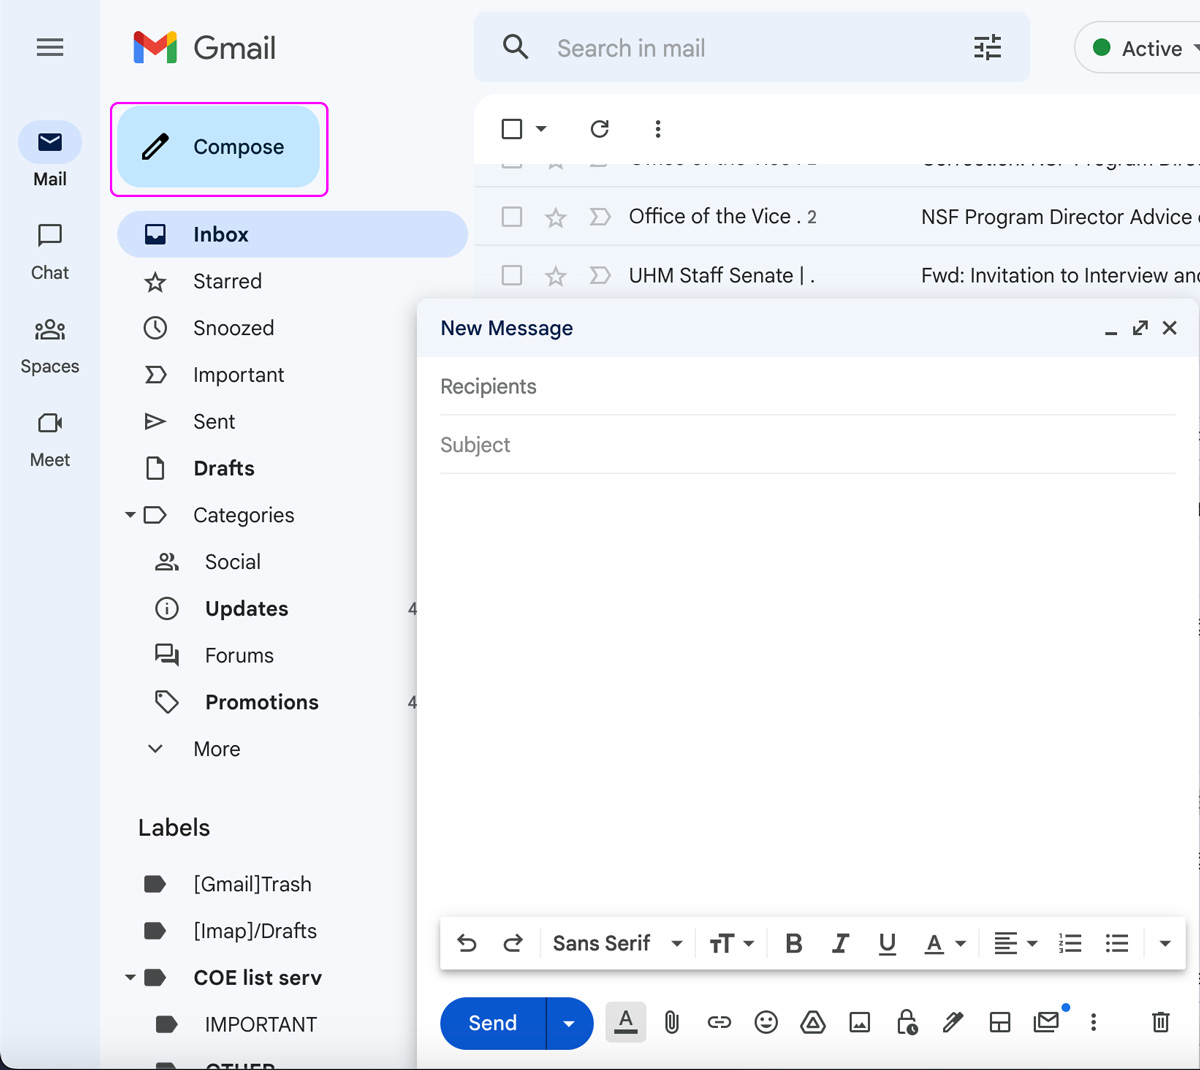
Compose an email.
Back at the inbox, “Compose” a new email.
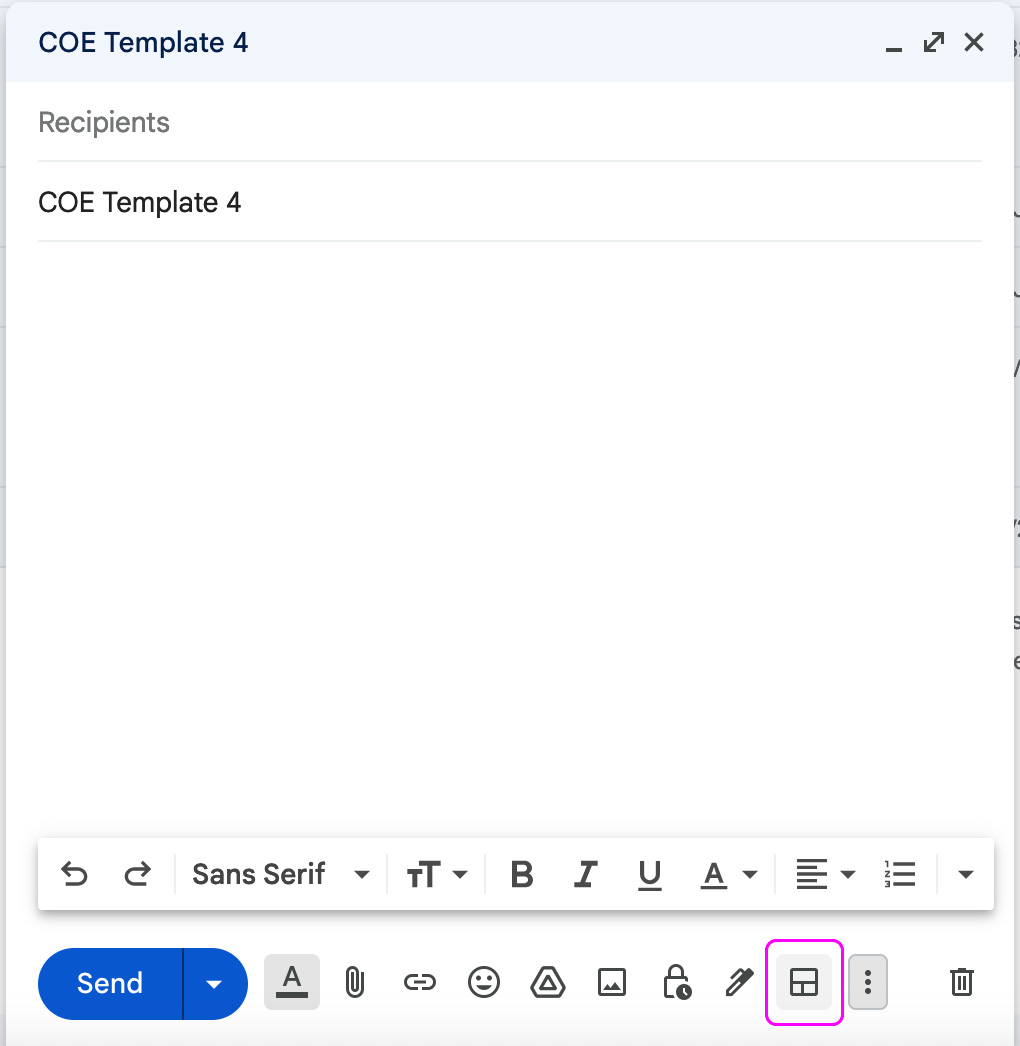
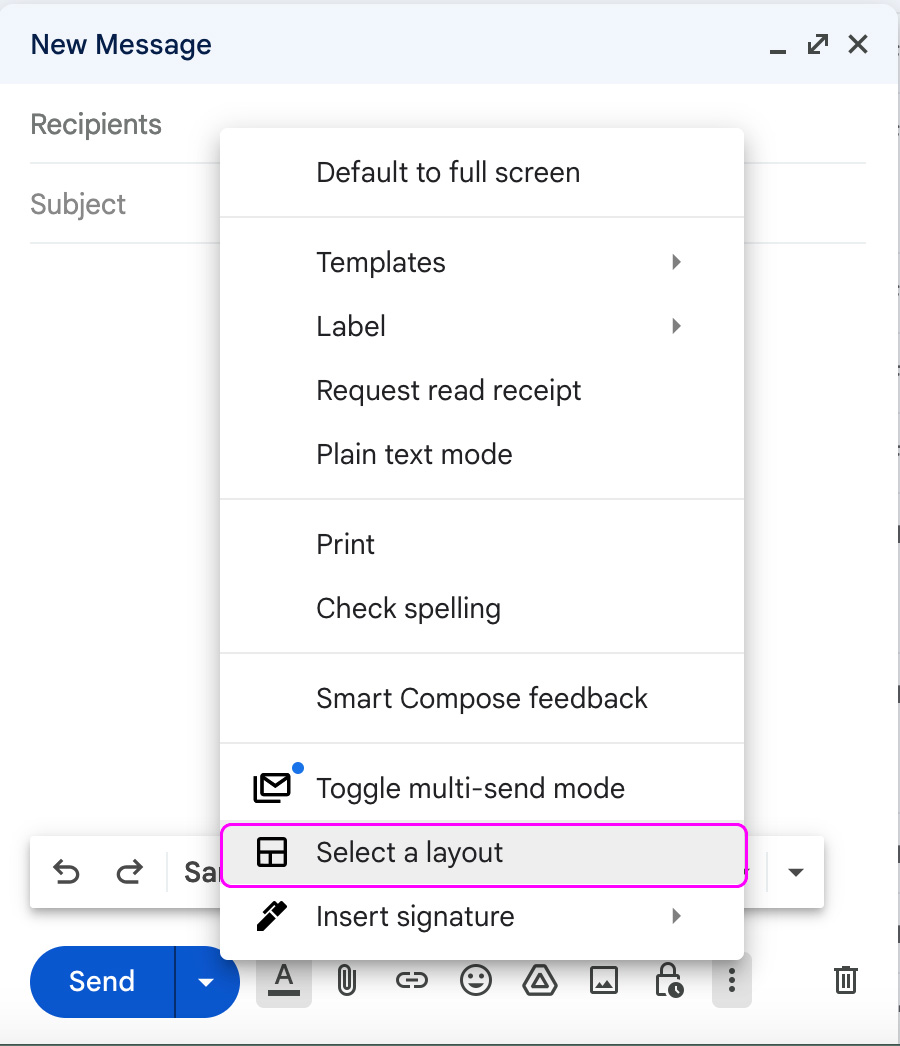
Select a layout
Click or tap on the icon for “Select a layout” in the bottom of the compose screen. If you are on a smaller screen, this may be found in the icon with 3 dots.
Set the default styling for the template
Select the “Default styling” link at the bottom of the modal.

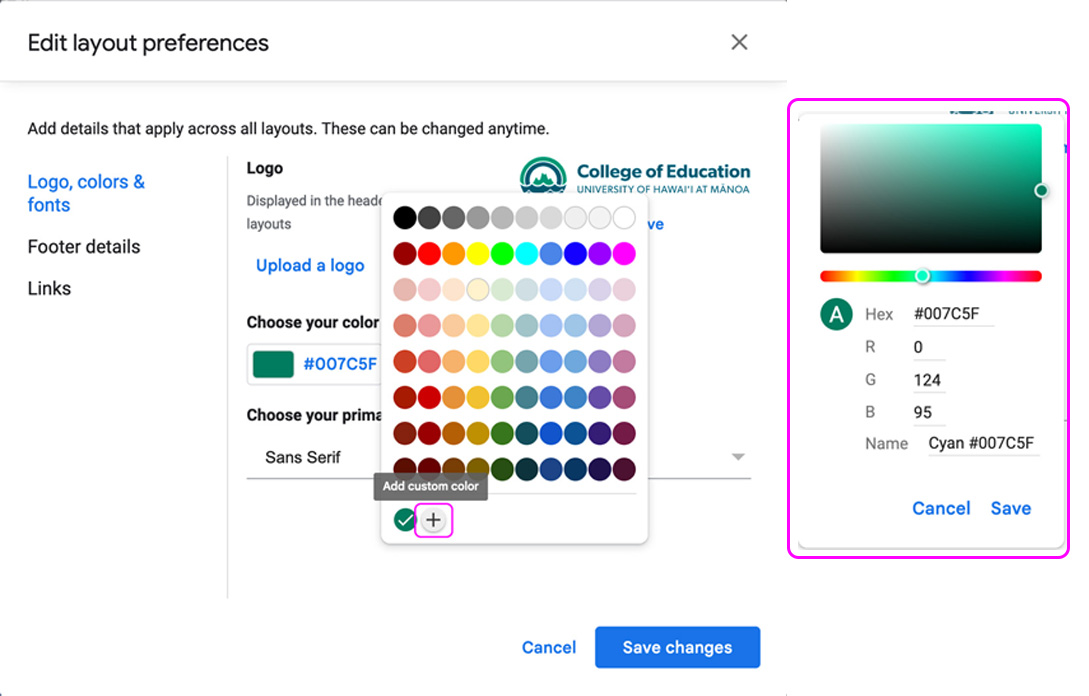
Set your layout options
You should be in the “Logo, colors & fonts” section. Upload the COE logo (download here). And add a new custom color: #007C5F. Make sure the primary font is set to “Sans Serif”.

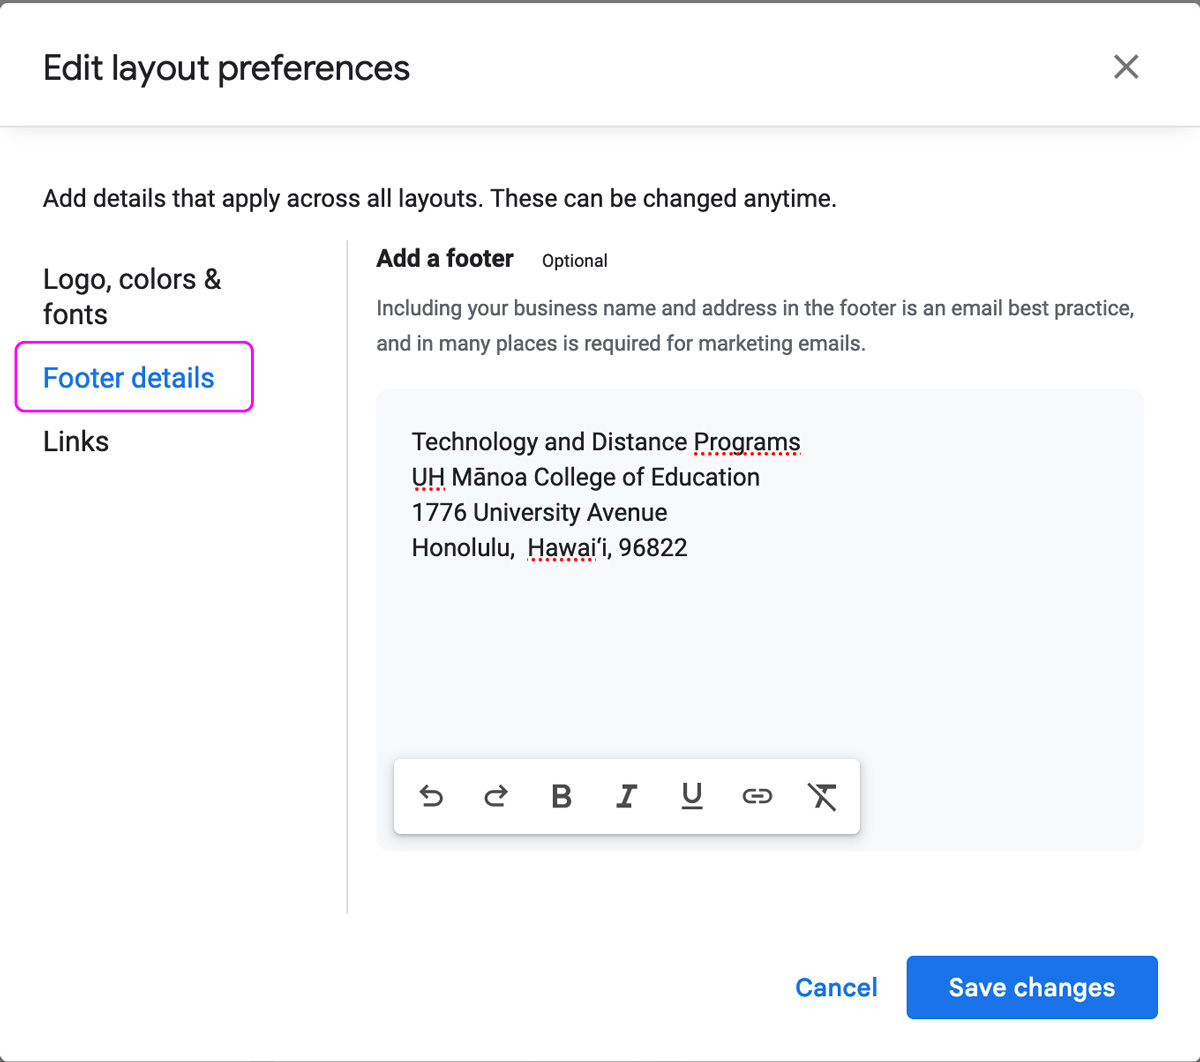
Add footer details for your office or department
In the “Footer details” section, you can add your address, e.g.,:
UH Mānoa College of Education
1776 University Avenue
Honolulu, Hawai‘i, 96822
Add links to your social media accounts.
Under the “Links” section, you can add your own or link to the COE social media accounts:
- Website:
https://coe.hawaii.edu - Facebook:
https://www.facebook.com/uhmanoacoe/ - Twitter:
https://twitter.com/uhmanoacoe - Instagram:
https://www.instagram.com/uhmanoacoe/ - LinkedIn:
https://www.linkedin.com/school/uh-m%C4%81noa-college-of-education/

Save your changes
Make sure you click or tap the “Save changes” button at the bottom.
Select a layout.
Select your preferred layout and select or tap “Insert” to use. You’ll be able to add images and edit content as you prefer.
Tip: Use the styles and layouts as is. They are meant to be simple and easy-to-use but not provide much customization.

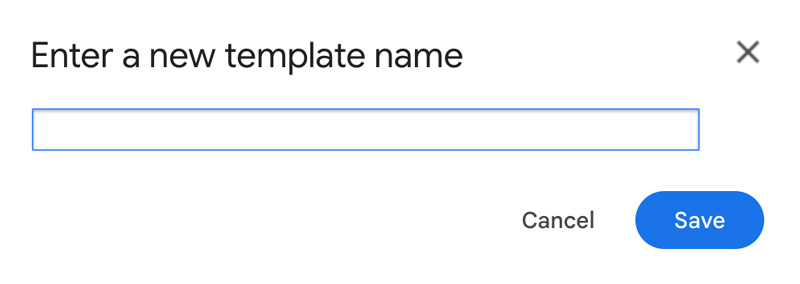
Save your draft as a template to reuse.
Select the icon with 3 dots to open a menu. Navigate to “Templates” > “Save draft as template” > “Save as template”. From here you’ll be able to name the template and save it for later.