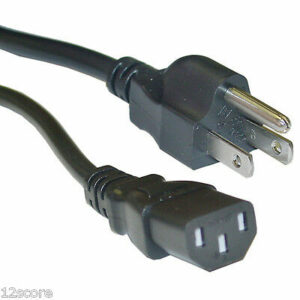
If connecting a printer directly to a PC (Using a cable rather than wireless), printer will come with 2 cords: Power and USB.
- The power cable is easily identified by the three-prong wall plug, simply plug non-prong side to printer and wall-prong side into wall.
- The USB cable has a USB head (Like a USB flash drive) and a special printer connection head.

If your computer only has USB-C connections (Newer computers) then you will need to use a dock or USB to USB-C adapter
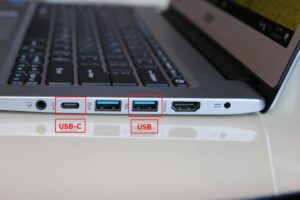
Plug the special printer connection head into the printer and the USB head into the computer/dock/adapter
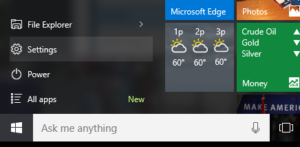
With the PC and printer both on, click on the little Windows icon (or press Windows icon key on keyboard) on bottom left of taskbar (Bar along bottom of screen with apps, data and time, etc.).
Then type “PRINTER” into search to pull up “Printers and Scanners”. Press enter or select “Printers and Scanners”.
At this point, you may find the printer under “Printers & scanners”. It will be labeled as brand and model of the printer you are connecting.
- Printer brand and model may be found on printer unit itself
If printer is not found under “Printers & scanners” then click on (+) icon “Add a printer or scanner” .

Select your printer and you are now connected.
Test if connection is successful by printing a test page (Pull up a word document and print a blank page).
Specific details on connecting printer may vary depending on printer model and PC. For any questions or troubleshooting, contact the TDP Tech Office at coetech@hawaii.edu for assistance.