Make a backup of your data in your local directory (outside of the Nextcloud folder). If you are in need of storage, please contact coetech@hawaii.edu and we can create a temporary backup of your files.
Navigate to https://drive.coe.hawaii.edu on your web browser and login using your UH credentials.

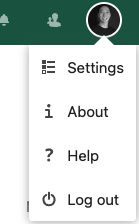
Navigate to Settings located on the top right corner of the browser.
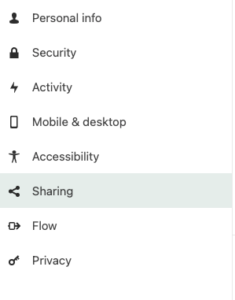
Navigate to Sharing
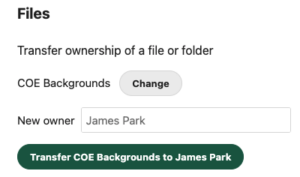
Click on Choose file or folder to transfer >> A file picker opens, showing all files and folders in the user’s account.

Pick a file or folder and click on Choose. The chosen file or folder name gets displayed.
Click on Change to change the choice if necessary.
Pick a new owner by typing their name into the search field next to New owner.
Click on Transfer.
The target user receives a notification where they are being asked whether to accept or reject the incoming transfer.
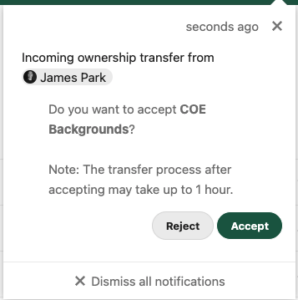
If accepted, the target user finds the transferred files and folders in their root under a folder Transferred from [user] on [timestamp].
![]()
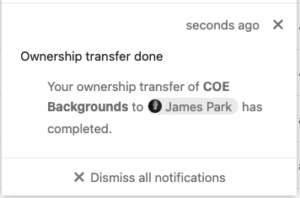
The source user gets informed about the acceptance or rejection by a notification.
Once the files have been transferred and verified, please ensure that you delete your backup from your local directory to free up storage space. If it was stored with TDP, we will go ahead and delete them at that time. Please note that when you return your laptop/desktop to us, TDP Tech Staff will ensure that all data is wiped as well.
Notes:
There will be no email notifications when the transfer request is sent. The new owner should watch their notification (bell) icon in the nextcloud browser (next to your profile icon in the top right) for any new notifications.
File/folder transfers may take up to an hour to complete.